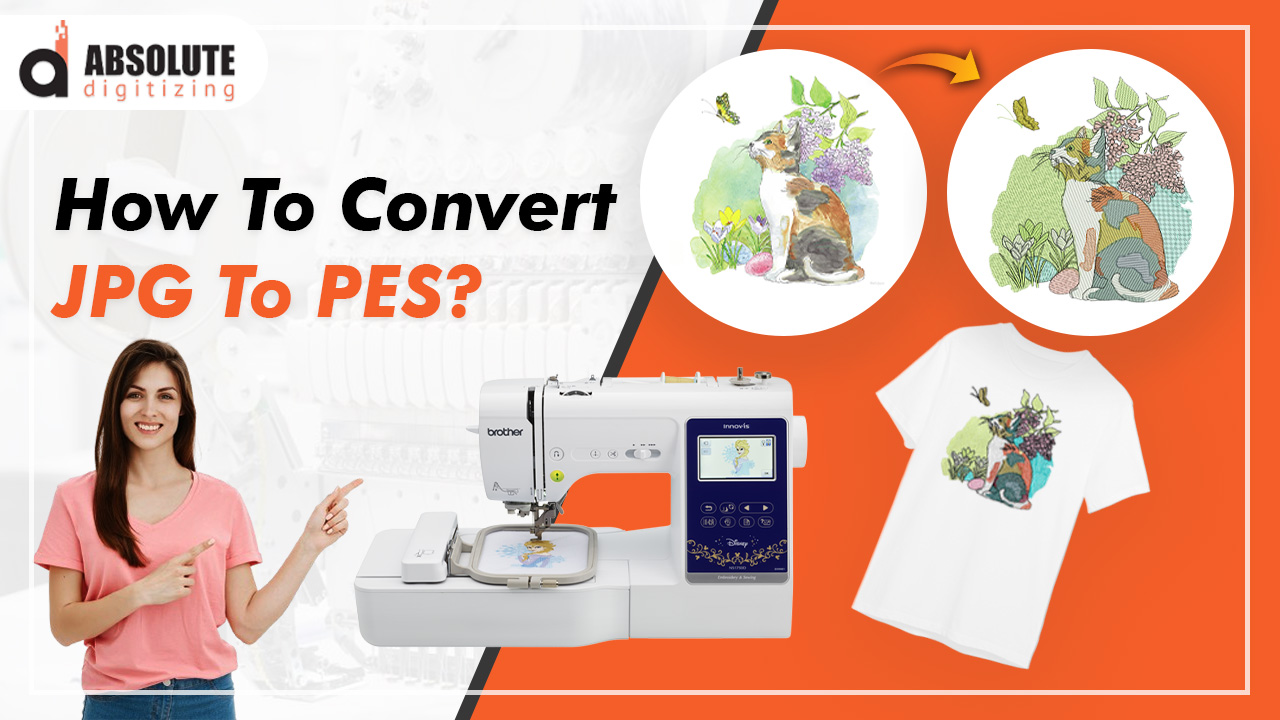
So, you’ve got a killer design idea, and you’re ready to stitch it onto fabric using your embroidery machine. But wait—how do you turn that image on your screen into a machine-readable PES file? Whether you’re a DIY enthusiast or a small business owner, convert image to PES file format (popularized by Brother embroidery machines) is a game-changer for custom projects. Let’s break down the process into simple, actionable steps.
What Is a PES File?
Before diving in, let’s clarify what a PES file actually is. A PES file (short for PE-Design Embroidery Stitch) is a digital embroidery format used primarily by Brother sewing and embroidery machines. It contains instructions for the machine, such as stitch types, colors, and sequencing, to recreate your design on fabric. Think of it as the “blueprint” your machine follows to bring your artwork to life.
Why Convert Images to PES?
- Customization: Turn logos, artwork, or even handwritten notes into embroidered patches, apparel, or decor.
- Precision: Machines follow digital instructions to avoid human error.
- Scalability: Perfect for creating multiples of the same design with consistent quality.
Tools You’ll Need
- Embroidery Digitizing Software:
- Brother PE-Design: Tailored for Brother machines, user-friendly for beginners.
- Hatch Embroidery: A powerful, all-in-one tool for pros (paid).
- Ink/Stitch: A free, open-source plugin for Inkscape (great for budget-friendly options).
- Embrilliance: A mid-range option for Mac and Windows users.
- Embroidery Machine: Brother machines (like the Brother PE800 or PRS100) read PES files natively.
- High-Quality Image: Start with a clean, simple image (more on this later).
Step 1: Choose the Right Image
Not all images are created equal. For the best results, pick a design that:
- Has Clear Lines and Contrast: Avoid overly detailed or blurry images.
- Uses Minimal Colors: Start with 1–3 colors to simplify digitizing.
- Is in a Compatible Format: PNG, JPEG, or SVG files work best.
Pro Tip: Trace complex designs in a vector program like Adobe Illustrator first. Vector images scale better and simplify the digitizing process.
Step 2: Prep Your Image for Digitizing
Open your image in photo-editing software (e.g., Photoshop, GIMP) to:
- Crop Excess Background: Focus on the core design.
- Increase Contrast: Make edges crisp.
- Simplify Colors: Reduce the color palette using tools like the “Posterize” effect.
Example: If converting a logo, remove gradients and stick to solid colors.
Step 3: Import the Image into Digitizing Software
Let’s use Ink/Stitch (free) as an example:
- Open Inkscape and install the Ink/Stitch plugin.
- Go to File > Import and select your prepped image.
- Resize the image to match your embroidery dimensions (e.g., 4×4 inches).
Note: Always check your machine’s hoop size limits!
Step 4: Trace the Image
This step converts your image into stitchable paths.
- Select the image and click Extensions > Ink/Stitch > Trace.
- Adjust the Threshold and Smoothness sliders to capture clean outlines.
- Delete the original image, leaving only the traced paths.
Pro Tip: Use the “Break Apart” tool to separate different color sections.
Step 5: Assign Stitch Types and Parameters
Here’s where the magic happens. Assign stitches to each part of your design:
- Fill Stitches: For large, solid areas (e.g., a heart shape).
- Satin Stitches: For borders, text, or narrow elements.
- Running Stitches: For fine details or outlines.
Adjust Settings:
- Density: Higher density = tighter stitches (good for thick fabrics).
- Underlay: Add a base layer of stitches to stabilize the fabric.
- Pull Compensation: Compensate for fabric stretching during stitching.
Step 6: Test and Refine the Design
Before sending the file to your machine, simulate the stitchout:
- Use the software’s Preview mode to check for gaps, overlaps, or misplaced stitches.
- Make adjustments to stitch angles or densities as needed.
- Export a test PES file and stitch it on scrap fabric.
Common Fixes:
- Thread Breaks: Reduce stitch density.
- Misaligned Layers: Adjust the stitch sequence.
Step 7: Save as a PES File
Once satisfied:
- Go to File > Save As.
- Select PES from the dropdown menu.
- Name the file and choose a save location.
Double-Check:
- Ensure the file is compatible with your machine’s hoop size.
- Verify thread colors match your available spools.
Step 8: Transfer to Your Embroidery Machine
- Save the PES file to a USB drive or SD card.
- Insert the drive into your Brother machine.
- Select the design from the machine’s interface, adjust placement, and start stitching!
Troubleshooting Common Issues
Problem: Design Looks Pixelated or Blurry
- Solution: Start with a higher-resolution image (300 DPI or more).
Problem: Machine Skips Stitches
- Solution: Re-digitize the design with proper underlay stitches.
Problem: Thread Colors Don’t Match
- Solution: Manually map thread colors in your software before saving.
Advanced Tips for Flawless PES Files
- Layer Complex Designs: Break large designs into smaller sections to avoid thread tension issues.
- Use Auto-Digitizing Tools: Software like Hatch Embroidery can auto-convert images, but always refine manually.
- Add Registration Marks: For multi-hoop projects, include alignment marks for precision.
Free Alternatives for Budget-Friendly Digitizing
Don’t want to splurge on software? Try these:
- SewArt: Affordable auto-digitizing tool for simple designs.
- My Editor: Brother’s free basic software for PES file editing.
- Embird: Offers a 30-day trial with robust features.
Why Not Just Use Auto-Digitize?
Auto-digitizing tools sound tempting, but they often produce clunky results. Manual digitizing gives you control over:
- Stitch direction (critical for textured effects).
- Thread changes and color blending.
- Fabric-specific adjustments (e.g., stretchy vs. rigid materials).
The Future of Image-to-PES Conversion
Emerging tech is making digitizing even easier:
- AI-Powered Software: Tools like StitchBuddy auto-detect edges and optimize stitch paths.
- Mobile Apps: Snap a photo with your phone and convert it to PES on the go (e.g., Embrilliance Express).
Final Thoughts
Converting images to PES files might seem daunting at first, but with the right tools and patience, anyone can master it. Start with simple designs, experiment with settings, and don’t shy away from test runs on scrap fabric. Remember, even pros make mistakes—what matters is learning and refining your process.
Ready to turn your ideas into stitch-perfect reality? Fire up your software, grab that image, and start digitizing. Your embroidery machine is waiting!
Leave a Reply